One API Key for GPT, Claude and Gemini: A Practical Setup for Central Asia Developers
A practical tutorial for developers in Central Asia who want to call GPT, Claude and Gemini from one OpenAI-compatible API gateway.

One API Key for GPT, Claude and Gemini: A Practical Setup for Central Asia Developers#
Developers across Central Asia are building AI features for education, fintech, ecommerce, customer support, internal automation and developer tools. In many projects, the first version starts with one model provider. Very soon, the team wants to test another provider for cost, quality, language coverage or latency.
That is where integration complexity appears: separate API keys, SDKs, request formats and operational dashboards.
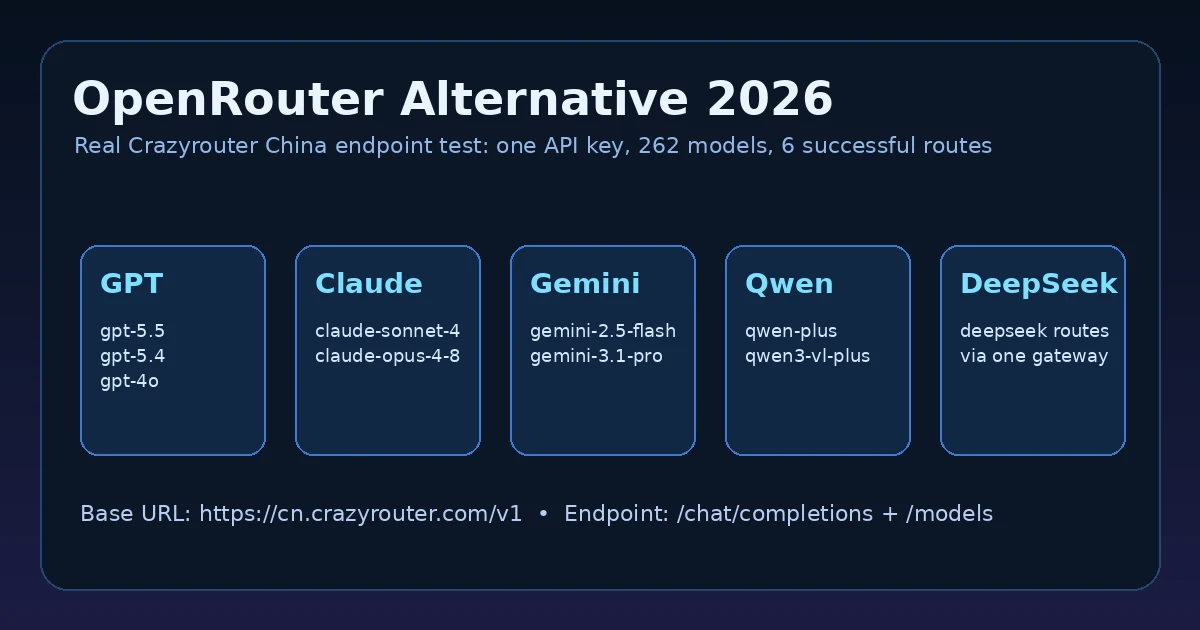
A practical alternative is to use one AI API gateway. Crazyrouter gives you one OpenAI-compatible endpoint and one API key, while still letting you call GPT, Claude and Gemini by changing the model name.
This guide walks through a minimal setup you can adapt for production.
When this setup helps#
Using one gateway is useful when you want to:
- Prototype quickly without building separate provider integrations.
- Compare GPT, Claude and Gemini with the same prompts.
- Keep your backend code compatible with OpenAI-style SDKs.
- Centralize secrets and usage tracking.
- Add fallback models for important workflows.
It is especially helpful for small teams that need flexibility but do not want extra infrastructure work.
1. Create and store your key#
Start from the docs intro, then follow the quickstart to create your API key:
- Docs intro: Crazyrouter docs
- Quickstart: Crazyrouter quickstart
Set the key locally:
export CRAZYROUTER_API_KEY="cr_..."
In production, store it in your deployment platform's secret manager instead of committing it to source control.
2. Make your first request in JavaScript#
Install the OpenAI SDK:
npm install openai
Create a client with the Crazyrouter endpoint:
import OpenAI from "openai";

const client = new OpenAI({
  apiKey: process.env.CRAZYROUTER_API_KEY,
  baseURL: "https://crazyrouter.com/v1",
});

const response = await client.chat.completions.create({
  model: "openai/gpt-4o-mini",
  messages: [
    { role: "system", content: "You are a helpful assistant for software developers." },
    { role: "user", content: "Give me a checklist for launching an AI feature." },
  ],
});

console.log(response.choices[0].message.content);
If your application already uses an OpenAI-compatible client, the main change is usually the API key and baseURL.
3. Switch models without changing the app flow#
Now try the same prompt with different providers:
const messages = [
  { role: "user", content: "Summarize this customer complaint in one sentence: The app keeps timing out during checkout." },
];

const models = [
  "openai/gpt-4o-mini",
  "anthropic/claude-3-5-haiku",
  "google/gemini-1.5-flash",
];

for (const model of models) {
  const completion = await client.chat.completions.create({ model, messages });
  console.log(`\n${model}:`);
  console.log(completion.choices[0].message.content);
}
This approach works well for prompt evaluation. Keep a small set of real examples from your product and compare outputs side by side.
4. Python version#
Python backend services can use the same OpenAI-compatible pattern:
import os
from openai import OpenAI

client = OpenAI(
    api_key=os.environ["CRAZYROUTER_API_KEY"],
    base_url="https://crazyrouter.com/v1",
)

completion = client.chat.completions.create(
    model="anthropic/claude-3-5-haiku",
    messages=[
        {"role": "system", "content": "You are a technical writing assistant."},
        {"role": "user", "content": "Draft a short API changelog entry."},
    ],
)

print(completion.choices[0].message.content)
5. A simple production pattern#
For production, avoid sending every request directly from route handlers with no controls. Add a small wrapper around model calls:
export async function runAiTask({ model, messages, taskName }) {
  const startedAt = Date.now();

  try {
    const result = await client.chat.completions.create({ model, messages });

    console.log({
      taskName,
      model,
      latencyMs: Date.now() - startedAt,
      status: "ok",
    });

    return result.choices[0].message.content;
  } catch (error) {
    console.error({
      taskName,
      model,
      latencyMs: Date.now() - startedAt,
      status: "error",
      message: error.message,
    });

    throw error;
  }
}
This makes it easier to compare models and debug issues later.
Practical next step#
Choose one workflow where model quality is easy to inspect: summarization, support classification, translation, search query rewriting or internal report generation. Run a small evaluation across GPT, Claude and Gemini, then choose a default model based on your own data.
For the full setup path, use the Crazyrouter quickstart.